Quick answer
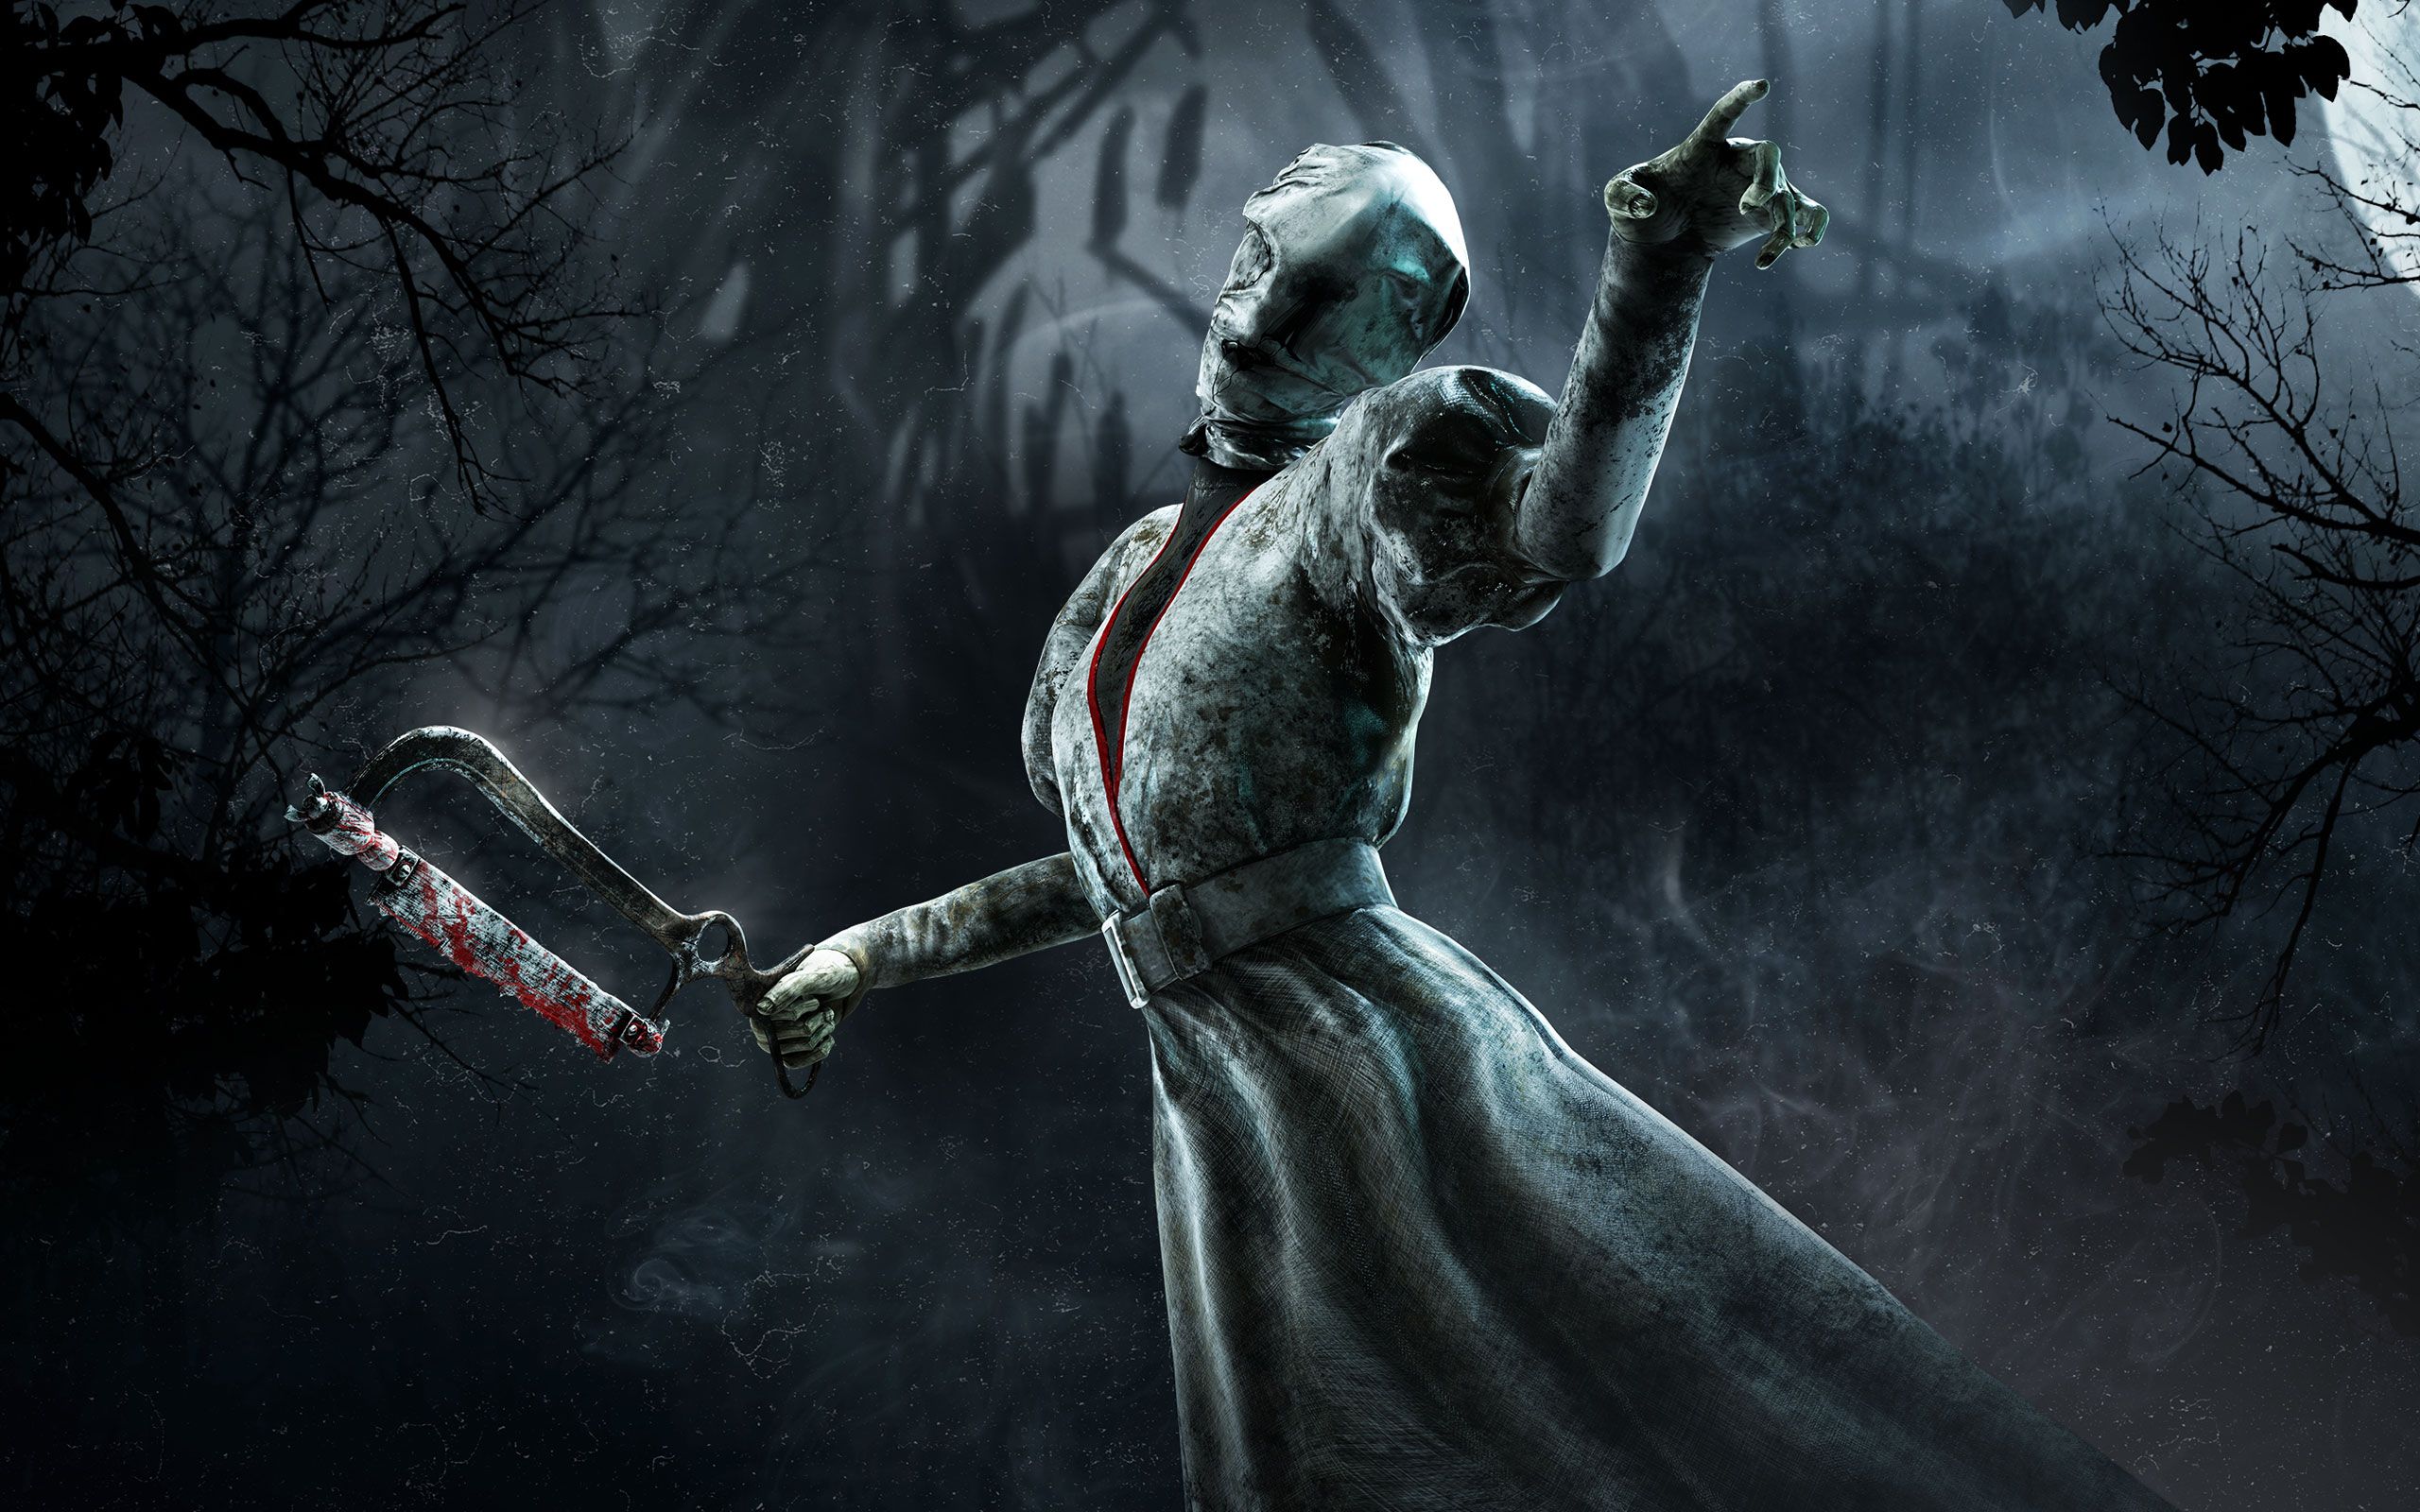
The best Nurse build in patch 10.0.0 (2026) is Barbecue & Chilli + A Nurse's Calling + Scourge Hook: Pain Resonance + Discordance. Pair that perk loadout with the Heavy Panting + Fragile Wheeze add-on combo for a 130% blink attack lunge and the Mangled status effect on every successful blink hit. The build works at every MMR because it solves the three things Sally Smithson struggles with most: finding survivors at the start of a chase, ending chases quickly when blink whiffs, and protecting your gens while you travel between them.
This article is for: killer players running The Nurse in patch 10.0.0 who want a high-floor, low-roll-dependency build that works at every MMR, from Bronze solo queue to red-rank tournament play. If you are new to The Nurse, start with the blink mechanics and add-on tier list before locking in the perk shell.
This is the same perk shell that Otzdarva, NotDebugger, and the BHVR official Nurse build guide all recommend as the highest-floor, highest-ceiling option. Below, we break down the perk math, the add-on tier list, and the blink mechanics that turn a good Nurse player into a 4K-per-game main.
Why the Nurse is still S-tier in patch 10.0.0
The Nurse has been a top-three killer since her release in Chapter 1: The Last Breath on 18 August 2016, and the core reason has not changed: she ignores the entire chase toolkit. Pallets, windows, walls, breakable objects - none of them matter to a Nurse who can blink through them. Her Spencer's Last Breath power teleports her up to 20 metres in a straight line, with a chain blink that adds up to 12 more metres inside a 1.5-second window, and the only cost is a 2-to-3-second fatigue that drops her movement to 0.96 m/s. Survivors cannot loop a killer who does not need to walk around the loop.
Patch 10.0.0 (released 16 June 2026) did not touch the Nurse's base kit directly, but it did change how she competes with the rest of the roster. The Slasher chapter and the rebalanced Wesker put pressure on mid-range killers, while the Spirit and Blight remain the chase ceiling. The Nurse still sits at the top of the killer tier list because no other killer punishes a missed skill check the way a chain blink does. A 2026 survivor who drops a pallet at the wrong moment is still caught in the lunge frame, because the Nurse's second blink arrives before the survivor can finish the animation.
She also benefits from the Scourge Hook: Pain Resonance build pattern that defines the patch 10.0.0 slow-down meta. With four Scourge Hooks at trial start and the perk's 10/15/20% regression on the most-progressed generator, the Nurse can fire Pain Resonance four times in the first four minutes, which is enough to keep a solo queue team on two generators for the entire midgame. The patch 10.0.0 cooldown drop (40s to 30s) matters more for the Nurse than for any other killer because her chase coverage is so fast she can be at every Scourge Hook on time. For the full patch 10.0.0 killer meta, see the best killer tier list for patch 10.0.0.
The best Nurse perk build for patch 10.0.0
| Slot | Perk | Why it works |
|---|---|---|
| 1 | Barbecue & Chilli | Read the whole map on every hook. The Nurse's blink speed (13.33 m/s) is faster than a running survivor, so you can reach the aura reveal radius (40/50/60 metres at T1/T2/T3) before the 5-second window closes. |
| 2 | A Nurse's Calling | Reveals healing survivors within 20/24/28 metres (T1/T2/T3). The Nurse has no terror radius during fatigue, so a healing survivor is a free blink from across the map. |
| 3 | Scourge Hook: Pain Resonance | 10/15/20% regression on the most-progressed generator every time you hook a survivor on a Scourge Hook. The Nurse's hook pressure lines up with all four tokens, making this the strongest non-Hex slow-down in patch 10.0.0. |
| 4 | Discordance | Every gen with 2+ survivors lit up. The Nurse is the only killer who can answer a Discordance ping from across the map, because she does not have to walk. |
Perk-by-perk reasoning
Barbecue & Chilli is the single most important perk on the Nurse, even more than on ranged killers. After every hook, the aura reveal lasts 5 seconds within 40/50/60 metres of the hook (T1/T2/T3). A Nurse who hooks and immediately blinks toward the aura pulse can land on a generator before the survivor even knows they are being chased. The 25% bloodpoint bonus is just gravy. The real value is that the Nurse is the only killer in the game who can convert every aura ping into a guaranteed chase start, because her blink ignores every obstacle in between.
A Nurse's Calling turns the Nurse's lack of terror radius during fatigue into an advantage. The 20/24/28-metre healing reveal (T1/T2/T3) is bigger than the lullaby, so an injured survivor who tries to heal behind a wall is exposed the moment they start the healing animation. A blink from 24 metres while the survivor is locked in the healing pose is one of the highest-damage plays in the game. Pair it with the Fragile Wheeze add-on and the survivor cannot get back to full health without burning two medkits.
Scourge Hook: Pain Resonance in patch 10.0.0 gives 10/15/20% regression (T1/T2/T3) to the most-progressed generator the hooked survivor was working on, with one trigger per Scourge Hook action (the perk has four tokens at trial start, one per Scourge Hook). The Nurse's hook pressure lines up with all four tokens, and you can realistically fire Pain Resonance three to four times in the first four minutes, which is enough to keep a solo queue team on two generators for the entire midgame. With the 30-second cooldown (down from 40 in patch 10.0.0), the Nurse is the killer who benefits most from the regression change.
Discordance rounds the build with a free information perk. Every time two or more survivors touch the same generator, the gen's aura lights up yellow within a 128-metre range for as long as they stay. Combined with Barbecue & Chilli, the Nurse knows where every survivor is at all times once the first hook lands, and her blink speed means she can convert any Discordance ping into a hook within 8 seconds.
Strong alternative slots
- Thanatophobia (the Nurse) for the first 30 seconds of the trial - you see all four survivor auras at game start, which turns into a guaranteed first chase on any Nurse who can land a chain blink. Replace A Nurse's Calling if you are not running a healing-reveal build.
- Lethal Pursuer (Hillbilly) - same effect as Thanatophobia but works on every killer, not just the Nurse. Useful if you want to keep the BBQ + A Nurse's Calling + Pain Resonance + Discordance core and have a flex slot.
- Pop Goes the Weasel (Clown) - 30% generator regression after a hook, on a 35/30/25-second cooldown. Pairs with Pain Resonance to delete progress on every hook action.
- Hex: Ruin (The Hag) is the swap if you are running a Hex-totem-hunting playstyle; pair it with Hex: Undying to protect it. Weaker on the Nurse than on slower killers because her travel time is so low she is often chasing, not defending totems.
Nurse add-on tier list (patch 10.0.0)
The Nurse starts every trial with 2 Blink Tokens by default, charges back to 2 over 3 seconds per charge, and enters Fatigue for 2-3 seconds after every blink chain. Add-ons do four things: change the blink range, change the chain blink window, change the fatigue duration, and add status effects on hit.
S-tier add-on combos
- Heavy Panting + Fragile Wheeze (Rare + Rare) - 130% blink attack lunge (extends the second and third blink attack lunge range by 30%) plus Mangled on every successful blink hit for 70 seconds. This is the highest-damage Nurse combo and the one Otzdarva recommends in his ultimate Nurse guide.
- Kavanagh's Last Breath + Plaid Flannel (Ultra Rare + Uncommon) - 8-metre Blindness to all survivors when you enter Fatigue (60 seconds) plus a visual indicator of where your blink will land. This is the highest-learning combo and the one BHVR recommends in the official guide for new players.
- Catatonic Boy's Treasure + Dark Cincture (Ultra Rare + Ultra Rare) - 65% reduction in chain blink fatigue plus 30% movement speed during the chain blink window. This is the highest-skill combo and rewards players who can chain blink consistently.
A-tier add-ons
- Bad Man Keepsake (Uncommon) - hitting a survivor with a blink attack causes their auras to be revealed when healing or being healed within a 28-metre radius for 60 seconds. Stack with A Nurse's Calling and the injured survivor can never get back into the match.
- Matchbox (Very Rare) - 105% movement speed with one blink. The hardest add-on to play around because the Nurse is faster than a running survivor while charging a single blink, which means survivors cannot drop chase the way they normally would.
- Bad Man's Last Breath (Very Rare) - 25 seconds of Undetectable after a successful blink attack (45-second cooldown). Best on indoor maps where the survivor has nowhere to break line of sight and you need the extra chase pressure to close the gap.
- Ataxic Respiration (Rare) - 7% reduction in fatigue duration. Small but consistent value, especially when paired with Pocket Watch.
How to play the Nurse: blink mechanics and chase rules
Add-ons and perks do not win matches on the Nurse. Blinks do. Here are the four rules that separate a good Nurse main from a 4K-per-game one, based on the BHVR Nurse build guide and the Otzdarva gameplay walkthrough.
- First blink for distance, second blink for precision. The first blink is up to 20 metres in a straight line. The second blink is up to 12 metres but only inside a 1.5-second window. Use the first blink to close the gap to a pallet or a wall, and the second blink to land directly behind the survivor for the lunge attack. Blinking directly onto a survivor body-blocks you, so always aim just behind them.
- Respect the 20-metre cap. The first blink is 20 metres in any direction you want to go. The single highest-skill play on the Nurse is approaching a chase with a charged first blink already up, so the blink lands you inside the survivor's loop rather than just outside it. Most survivors will drop the pallet immediately when they hear the chain blink, which lets you break it for free.
- Do not blink twice just to travel. The fatigue after a chain blink is 2.5 seconds (3 seconds on a missed attack). Walking at 3.85 m/s is often faster than blinking across the map and then waiting out fatigue. Use one blink for short repositioning, save the second for the chase.
- Use fatigue as information, not as downtime. Fatigue drops your movement to 0.96 m/s and pans your camera to the ground, but it also drops your terror radius to zero. While you are in fatigue, rotate the camera to scan for scratch marks, listen for breathing, and predict the survivor's next move. A good Nurse is already planning the next chase during fatigue.
Best Nurse maps and matchups in patch 10.0.0
The Nurse has the smallest map-pool penalty in the killer roster because her power is ranged. That said, some maps are noticeably better than others. Indoor maps with short loops and tight corridors are the Nurse's home turf, while wide open maps with long sight lines are her weak spot.
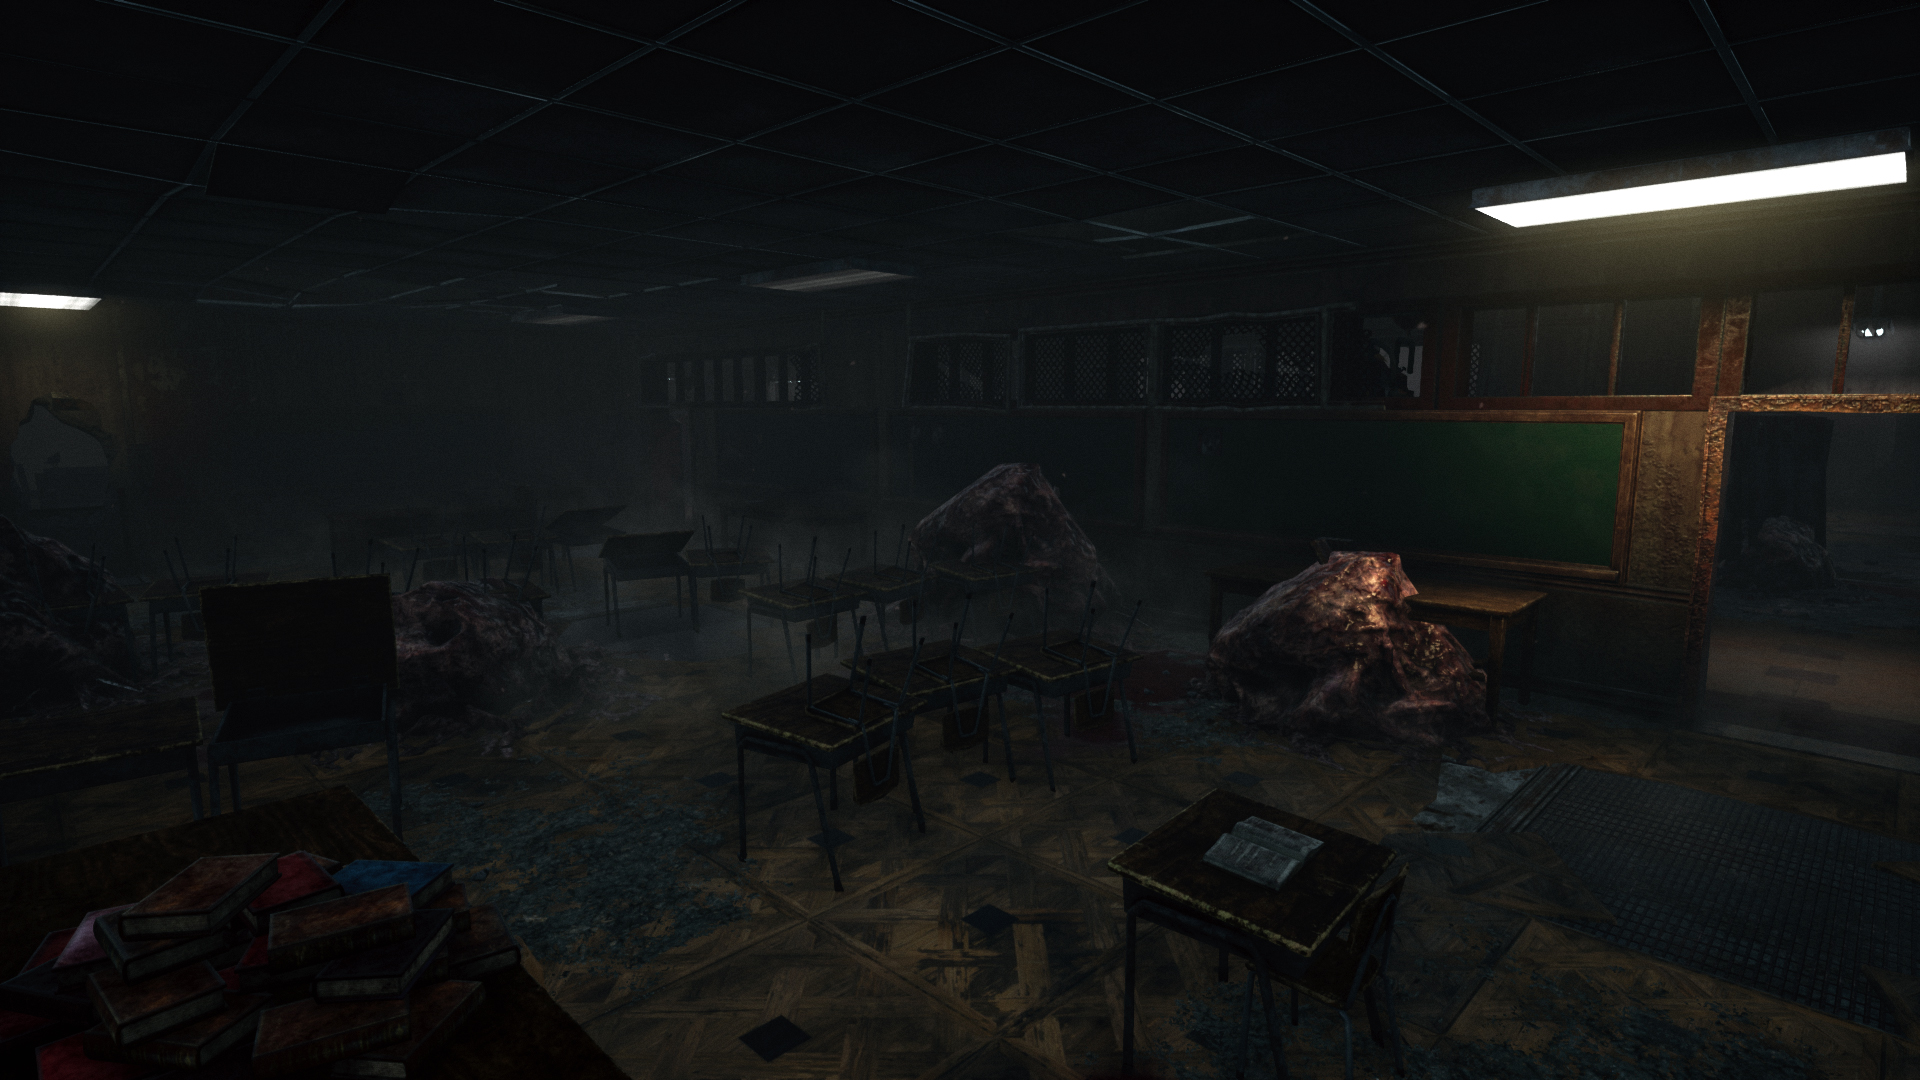
- S+ tier maps: Midwich Elementary School, The Game. Tight indoor corridors with single-tile loops mean a chain blink is always a guaranteed hit. These are the two maps where the Nurse has the highest pick rate in 2026.
- S tier maps: Thompson House, Hawkins National Laboratory, MacMillan Estate (Lery's Memorial Institute), Raccoon City Police Station. Mid-sized indoor maps with multiple short loops. The Nurse can answer a Discordance ping from anywhere on the map within 5 seconds.
- A tier maps: Coldwind Farm (Fractured Cowshed), Lampkin Lane, Yamaoka Estate (Family Residence). Mid-range open loops with verticality. The Nurse still works here but the chase ceiling is lower because survivors can break line of sight more often.
- B tier maps: Coldwind Farm (Rotten Fields), The Pale Rose, Eyrie of Crows. Wide open spaces with long sight lines actually hurt the Nurse because survivors can break line of sight with no consequence, and a max-range 20-metre blink is wasted on a 50-metre loop.
- C/F tier maps: Garden of Joy, Eerie, Toba Landing, Lystrom Plaza. The Nurse is still playable here but you are at a significant map disadvantage. The wider the map, the more your blink efficiency drops.
Survivor matchups to watch for
- Against Dead Hard (David King): lead your blink 0.5 seconds early. Dead Hard grants the Endurance status effect for 0.5 seconds, and during that window the survivor cannot be injured by a normal hit. If you blink on the lunge, you are blinking into the Endurance frame. The fix: blink slightly to the side so the survivor has to Dead Hard in a direction that does not reach the lunge.
- Against Lithe (Feng Min): do not blink during the speed burst. Lithe grants a +50% Haste status effect for 3 seconds after a rushed vault. Blink during the vault animation, not the Haste window. A 12-metre chain blink arrives at the same time the survivor reaches the end of the vault animation, which is the only frame where they are vulnerable.
- Against Sprint Burst (Meg Thomas): bait the burst with a fake-blink (start the charge, cancel by looking down and releasing the power button). Sprint Burst also grants a +50% Haste effect for 3 seconds with a 40-second cooldown at tier 3, and a fake-blink forces the survivor to burn the cooldown without you spending a real blink.
For the official BHVR character page and the canonical Fandom wiki entry on the Nurse, see the official Nurse page on deadbydaylight.com and the Sally Smithson - The Nurse wiki entry on Fandom. For the broader patch 10.0.0 meta, see the Fandom patch 10.0.0 notes. For an alternative published take on the perk shell, see the Dot Esports best Nurse builds guide. For the canonical video walkthrough, see Otzdarva's Nurse ultimate guide on YouTube, which is the source for the blink-distance and fatigue-number values in the mechanics section below.
How this build compares to other Nurse loadouts
You will see three other Nurse builds recommended in 2026, and the BBQ + A Nurse's Calling + Pain Resonance + Discordance shell beats all of them at every MMR except one specific case.
- Aura-reading Nurse: Lethal Pursuer, Nowhere to Hide, A Nurse's Calling, BBQ. Better at high MMR where survivor auras are the only thing that matters. Loses to coordinated gen-rush teams because you have no slow-down outside the healing reveal.
- Regression Nurse: Pop Goes the Weasel, Scourge Hook: Pain Resonance, Scourge Hook: Floods of Rage, BBQ. Best when paired with coordinated teammate killers. The double Scourge Hook combo is brutal but requires both hooks to fire, which the Nurse can usually deliver.
- Hex Nurse: Hex: Ruin, Hex: Undying, Hex: The Third Seal, BBQ. Stronger slow-down ceiling than the recommended build, but weaker recovery if the totems are found in the first two minutes. The Nurse can run hex builds but her travel speed is so high that totems are often cleansed before she can defend them.
The recommended build sits in the middle: it has the slow-down of the regression shell, the information of the aura build, and the recovery of the Hex build if the totems are broken. The trade-off is that no single slot is as strong as the corresponding slot in the other builds, but every slot is good enough.
Watch the build in action
Frequently asked questions
Is the Nurse still good in 2026?
Yes. The Nurse remains the S-tier killer on most tier lists in 2026 because her blink power has no direct counter outside of Dead Hard, Lithe, and sprint-burst windows. The Slasher chapter and the rebalanced Wesker did not push her out of the meta. The patch 10.0.0 buff to Scourge Hook: Pain Resonance (40s to 30s cooldown) made her slow-down shell noticeably stronger, which is the only build change you need to react to.
What is the best Nurse add-on for beginners?
Plaid Flannel + Kavanagh's Last Breath. The Plaid Flannel shows a visual indicator of where your blink will land, which is the single most important training tool for new Nurse players. Kavanagh's Last Breath blinds all survivors within 8 metres when you enter Fatigue, which gives you a free second to plan your next move while the survivors lose line of sight. Once your blink accuracy is above 70%, swap to Heavy Panting + Fragile Wheeze for the damage combo.
How do you counter the Nurse as a survivor?
Three rules, in order of importance. First, vary your pathing: a Nurse blinks to where she last saw you, so changing direction every 5 seconds forces her to guess. Second, do not pre-drop pallets: the Nurse blinks through them, so a pre-dropped pallet is a free hit for her. Third, do not commit to a window vault until you see the chain blink: if the second blink is in cooldown, vaulting into a window at the wrong time is a free hit. The most effective anti-Nurse perk in 2026 is Dead Hard, because the 0.5-second Endurance window forces the Nurse to delay her second blink by exactly one second.
Is the Nurse hard to learn?
Yes, but not as hard as the community makes it sound. The first 5 matches are the worst, because you are learning to charge the blink, read the chain window, and aim behind the survivor at the same time. The first 20 matches are the learning curve, because you are training your muscle memory to blink to specific tiles without looking. After 50 matches of Plaid Flannel practice, most players reach a 60-70% blink accuracy rate, which is enough to win the average solo queue game. The Nurse is the highest-skill-ceiling killer in the game but the floor is higher than the community assumes, because her power does not require any add-ons or perks to work.
Should I run Thanatophobia or A Nurse's Calling on the Nurse?
A Nurse's Calling for solo queue, Thanatophobia for SWF. A Nurse's Calling is the higher-floor pick because the 28-metre healing reveal (T3) is the only aura information the Nurse cannot get from her blink. Thanatophobia is stronger in coordinated play because the 8/12/16% action speed penalty (T1/T2/T3) to repair, healing, and sabotage stacks across all four survivors, and SWF teams burn gens faster than solo queue so the penalty has a bigger impact. Both are valid; A Nurse's Calling is the higher-floor pick for the average player.
Final thoughts on the best Nurse build 2026
The Nurse is the highest-skill-ceiling killer in Dead by Daylight, but the BBQ + A Nurse's Calling + Pain Resonance + Discordance build is the most consistent perk shell for her in patch 10.0.0. The Heavy Panting + Fragile Wheeze add-on combo is the right pick for any player above 60% blink accuracy, and the Plaid Flannel + Kavanagh's Last Breath combo is the right pick for anyone still learning the blink mechanics. Once your blink accuracy is solid, the Catatonic Boy's Treasure + Dark Cincture combo opens up the unreactable chain-blink play that turns a 2K-per-game main into a 4K-per-game one.
For a broader view of the patch 10.0.0 killer meta, see our Best Killer Tier List for Patch 10.0.0. For an alternative ranged-killer build that uses a different power ceiling, see our Best Huntress Build 2026 post. For the chase-tier build (Spirit + Blight + Wesker) the same perk shell applies, so the build rules translate cleanly.