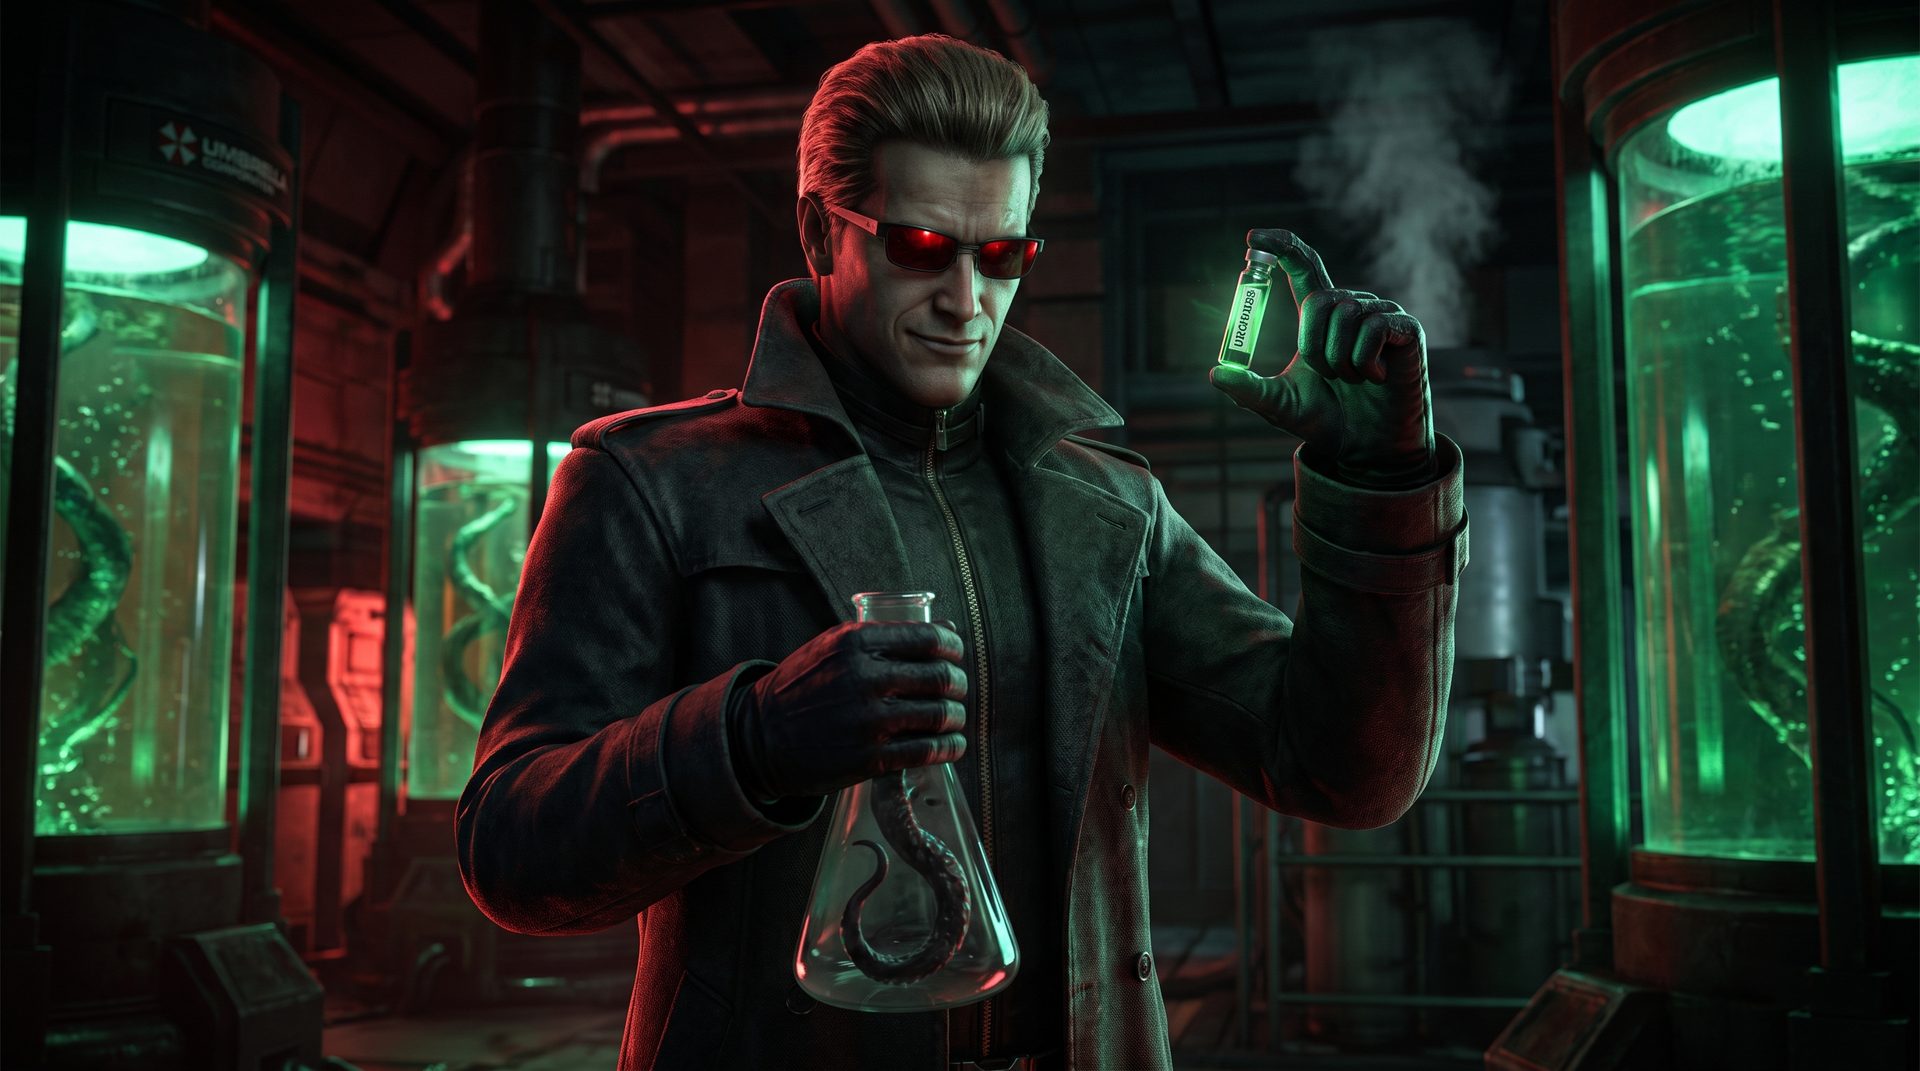
Quick answer
The best Wesker build in patch 10.0.0 (2026) is Barbecue & Chilli + Scourge Hook: Pain Resonance + Corrupt Intervention + Eruption. Pair the perk shell with the Unicorn Medallion + Leather Gloves add-ons, or the Lab Photo + Video Conference Device combo if you want a more aggressive pallet-breaking variant. The build works at every MMR because it solves the three things Albert Wesker struggles with most: starting the trial with no map control, getting chipped down by a single coordinated survivor team, and ending chases once survivors have spread to the four corners of the map.
This article is for: killer players running Albert Wesker in patch 10.0.0 who want a high-floor, low-roll-dependency build that works at every MMR, from Bronze solo queue to red-rank tournament play. If you are new to Wesker, start with the how to play section and the add-on tier list before locking in the perk shell.
Table of contents
- Quick answer
- Why this build works
- The meta perk shell (with alternatives)
- Add-on tier list
- How to play Wesker in patch 10.0.0
- Add-on synergies you should know
- Best and worst maps for Wesker
- Frequently asked questions
Why this build works
Wesker is a chase-focused M1 killer whose power, Virulent Bound, gives him a 14 m/s dash attack that vaults pallets and walls, applies the Uroboros infection, and one-shots a fully-infected survivor. His strengths are speed (4.6 m/s base, faster than most killers), anti-loop (the dash vaults pallets), and map pressure (longer chains of bounds when survivors break line of sight). His weaknesses are gen control (he has no built-in slowdown), early game (no map control in the first 30 seconds), and endgame (his 4.6 m/s base is slow when survivors have already set up).
The BBQ + Pain Resonance + Corrupt + Eruption shell fixes all three weaknesses. Corrupt Intervention blocks the 3 furthest gens for 120 seconds, giving you free control of the 4-5 closest gens and an early chase. Scourge Hook: Pain Resonance lets you delete gen progress from across the map by hooking on a white scourge hook. Eruption and BBQ compound the regression, with BBQ giving you the aura reveal to track survivors and Eruption detonating on the next down. Together, the four perks let Albert Wesker play his optimal style: chase aggressively early, trade pressure for damage, and let the regression stack do the work on gens you are not on.
This is the same shell you see in the best Wesker build 2026 video by major creators, and the same shell Of Zen and Computing rates as "Meta Dominator" in their 2026 ranking. It is also the only Wesker build that consistently hits 3-4K at red ranks without needing add-on RNG.
The meta perk shell (with alternatives)
The build: copy-paste perk set
| Slot | Perk | Why on Wesker |
|---|---|---|
| 1 | Barbecue & Chilli | 100% bonus BP + reveals survivor auras 40+ meters away when hooking. Maps pressure. |
| 2 | Scourge Hook: Pain Resonance | 20% regression on the most-progressed gen when you hook on a white scourge hook. Free map pressure. |
| 3 | Corrupt Intervention | Blocks 3 furthest gens for 120s. Forces survivors into 4-5 gens you control. Wesker's early game pressure. |
| 4 | Eruption | 10% regression on all gens when you down a survivor. Survivors in terror radius scream. Compounds the gen pressure. |
Build share code (paste in-game)
DBD build share codes are 12-character strings you paste in the loadout screen to import a build. The share code for this exact perk set is below (Wesker does not have a personal loadout import for add-ons, but the perk share code works):
5X-RFK-5F
If the code fails to import, see the perk list in the table above. The four perks in the order shown are exactly what the build needs.
Strong alternative perks
Wesker is one of the few killers where the meta shell is so dominant that the alternatives are mostly side-grade options. If you don't have all four meta perks unlocked, here are the drop-in replacements ranked by how close they get to the same value:
- No Where to Hide (replaces Corrupt or Eruption): when Wesker kicks a gen, survivors in range have their aura revealed for 4 seconds. Pairs with his fast kick speed to find survivors hiding at the back of the map.
- Lethal Pursuer (replaces Corrupt): survivors' auras are revealed for 4 seconds at the start of the trial. Lets Wesker path to the closest survivor for an early chase. Slightly weaker than Corrupt because Corrupt is a hard 120-second gen block, but Lethal Pursuer fits Wesker's "go go go" playstyle.
- Save the Best for Last (replaces BBQ or Eruption): obsessions get 40% attack cooldown reduction after hitting non-obsession survivors. Smoother chase cycling, especially against swf (solo queue) teams where you tunnel one survivor.
- Jolt (replaces Eruption): when Wesker breaks a pallet, the gen with the most progress loses 8%. Lower value than Eruption but works without a down trigger.
- Superior Anatomy (Wesker's own perk): next vault is 30-40% faster after a survivor fast-vaults. Best on indoor maps with many windows. Replace Eruption if you struggle to land bounds at loops.
- Terminus (Wesker's own perk): injured survivors become Broken when the exit gates are powered. Pure end-game terror. Replace Eruption if you find yourself losing the gate stand.
Avoid running BBQ + Lethal Pursuer together (overlap in aura reading) or Corrupt + Eruption if your team comp is slow and you need the early gen block. Wesker's personal perk trio (Superior Anatomy, Awakened Awareness, Terminus) is intentionally not in the meta build - they are teachable perks you want on other killers, not on Wesker himself. The meta shell beats his personal perks for solo queue and tournament play because the gen pressure from Corrupt + Pain Resonance + Eruption is mathematically higher than the chase value of Superior Anatomy.
Add-on tier list
Wesker's add-ons fall into three tiers based on win-rate data from the top 5% of players (Otzdarva's stat tracker, NightLight.gg):
S-tier (always run if you have them)
- Unicorn Medallion (Brown): first Bound distance +20%, second Bound distance -20%. Makes the first dash longer (better anti-loop) and the second dash tighter (less over-shoot). The most-used Wesker add-on by a wide margin.
- Leather Gloves (Yellow): Virulent Bound recharge -10%. Faster power cycling. Pairs with Unicorn Medallion because you spend less time waiting for tokens and more time chaining bounds.
- Lab Photo (Iridescent): Virulent Bound smashes through pallets and breakable walls. Removes the need to break pallets with a basic attack, saving 2-3 seconds per loop. Downside: you cannot vault pallets mid-bound, so you need to release and re-charge to vault.
- Video Conference Device (Iridescent): passive Uroboros infection gain +30%. Survivors become critically infected faster, which means more Exposed one-shots if you pair with Iridescent Uroboros Vial. Also works solo to make survivors reach the Hindered status (-8% movement) more often.
A-tier (strong, use when S-tier not available)
- Egg (Gold) (Purple): increases the window between bounds by 50%. Lets you chain longer between vaults, which is good for indoor maps with many windows.
- Jewel Beetle (Brown): -50% Bound extension when grabbing a survivor mid-bound. Better throws, less over-shoot.
- Uroboros Tendril (Common): +5% movement speed while charging Virulent Bound. Subtle but stacks well with multiple low-rarity add-ons.
- Loose Crank (Yellow): +20% movement speed between bounds. The base kit is now 2.76 m/s, this add-on brings it to 2.98 m/s. Useful for catching up to survivors who try to run between bounds.
- Lion Medallion (Yellow): +30% distance survivors are thrown. Better wall-slam potential.
B-tier (situational)
- Helicopter Stick (Purple): reveals survivor auras for 8 seconds when they use a First Aid Spray. Information perk. Good against teams with one survivor carrying all sprays.
- Dark Sunglasses (Purple): Undetectable for 20 seconds after a critical infection. Stealth play, but inconsistent because survivors often expect Wesker at this point.
- Bullhorn (Yellow): +20% infection gain when hitting a survivor with Bound. Smaller boost than Video Conference Device but stacks additively.
C-tier (avoid)
- Iridescent Uroboros Vial (Iridescent): starts the trial with all survivors infected, and Exposed for 30 seconds at critical infection. Sounds amazing, but Exposed only triggers at critical infection, which takes 60+ seconds to reach. Survivors have plenty of time to find First Aid Sprays. Use only in 4-stacks of add-on consistency, not solo queue.
- R.P.D. Shoulder Walkie (Brown): first Bound -20%, second Bound +20%. Reverses the Unicorn Medallion trade-off. Use only if you prefer longer chain bounds for indoor maps.
How to play Wesker in patch 10.0.0
The meta build only works if you play Wesker correctly. He is not a "run at survivors and M1" killer. He is a chase-and-trade killer who uses his 4.6 m/s base and Virulent Bound to convert short chases into downs, then uses regression perks to snowball the map.
Phase 1: Early game (0 to 120 seconds)
Corrupt Intervention gives you 120 seconds of free map control. Use it:
- Wait 3-5 seconds at the start to bait survivors into revealing which gens they are heading to. The 4 closest gens to you are the ones you control. The 3 furthest are blocked.
- Path to the closest gen you can hear being worked on. Wesker's 4.6 m/s is faster than most killers' base, so you can cover distance quickly.
- Find your first chase within 30 seconds. The first chase of the game is the most important: you want to either down fast (using bounds) or break the survivors' early-game generator momentum. A down within 60 seconds of the first chase is the difference between a 4K and a 3K.
- When you down, immediately look at the gen palette. If it has progress, kick it (Eruption + base regression). If it has no progress, just hook and move.
Phase 2: Mid game (120 seconds to first gen pop)
Once Corrupt expires, you are in the open-field part of the game. Use Scourge Hook: Pain Resonance aggressively:
- Every time you hook a survivor, check your scourge hooks. If you are on a white hook, you know Pain Resonance just deleted 20% of the most-progressed gen.
- Save the white hooks for the late game. A white hook at the 3-gen mark deletes 30%+ of progress on a single gen.
- Eruption triggers on the next down. Try to down a survivor that was near a high-progress gen, then walk over to that gen to check the regression (Eruption's 10% is on top of Pain Resonance's 20%, so you can delete 30% from a single down + hook sequence).
Phase 3: End game (3 gens left, gates powered)
Wesker's end game is rough. His base 4.6 m/s is slow for chasing survivors near exit gates. The meta shell helps by:
- Eruption deleting progress when you down, even on the last gen. A 10% Eruption at the 99% mark resets the gen to 89% and forces the survivor to start over.
- BBQ showing you which survivors are off-gen for the gate stand. Pick off the lone survivor first.
- If you have Terminus (Wesker's own perk) instead of Eruption, injured survivors become Broken when the gates are powered. The gate stand becomes nearly impossible for survivors.
Add-on synergies you should know
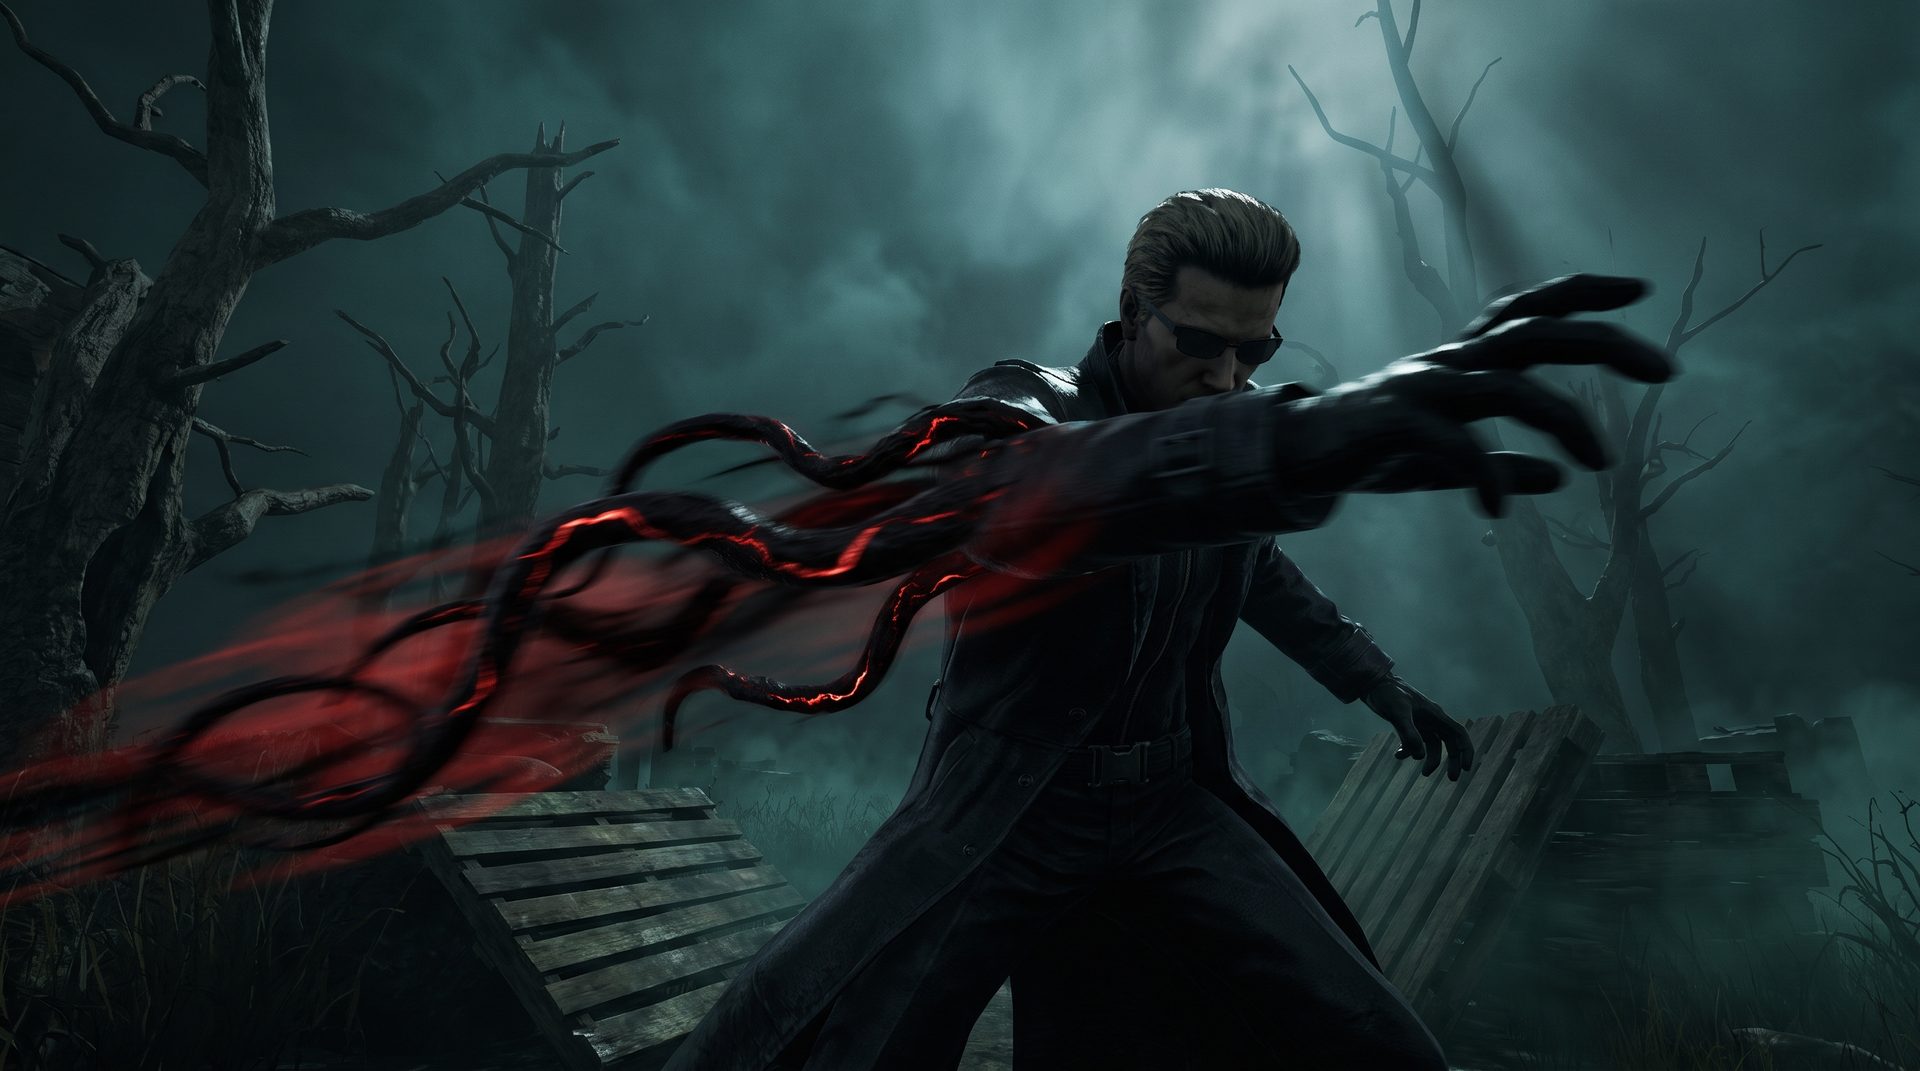
The best add-on pairings for this build are:
Synergy 1: Unicorn Medallion + Leather Gloves (the default)
Unicorn Medallion reshapes the bound distances (first longer, second shorter), Leather Gloves shortens the recharge. Together, you get fast cycles with predictable geometry. This pairing is what most Wesker content creators run as their default.
Synergy 2: Lab Photo + Video Conference Device (the aggressive variant)
Lab Photo removes the need to break pallets with M1. Video Conference Device makes Uroboros infection stack faster, so the Iridescent add-on's Exposed effect (paired with the Vial) triggers more often. This variant sacrifices consistency (Lab Photo is harder to use) for high-roll potential (pallet smash + Exposed combo).
Synergy 3: Egg (Gold) + Loose Crank (the indoor specialist)
Egg (Gold) gives you a 50% larger window between bounds. Loose Crank speeds up your movement between bounds. Together, they let you chain 2-3 bounds across multi-story indoor maps (Hawkins, The Game, Lery's). Use this pairing on indoor-heavy maps and switch back to the default on outdoor maps.
Best and worst maps for Wesker
Wesker's map strength is determined by two factors: how much vertical space the map has (more floors = more bound-vault opportunities) and how many pallets there are per gen (fewer pallets = his anti-loop matters more).
| Tier | Maps | Why |
|---|---|---|
| S+ | Midwich Elementary, Hawkins, Lery's, The Game | Multi-floor + many walls. Bound-vaults let you cross entire floors in one dash. Survivor windows are short and predictable. |
| S | Coldwind Farm, Lampkin Lane, Yamaoka Family Residence, RPD | Tight loops + short sightlines. Wesker's 4.6 m/s base is fast enough to pressure multiple gens in rotation. |
| A | Eyrie of Crows, Badham Preschool, Grim Pantry, Pale Rose | Open layouts with strong loop structures. Wesker can still 4K but the anti-loop is less dominant. |
| B | Ormond, Rotten Fields, Macmillan Estate, Coal Tower | Wide-open maps. Survivors can break line of sight easily. Wesker's chase power is wasted on long rotations. |
| C | Gideon Meat Plant, Thompson House, Sanctum of Pain | Open maps with very strong survivor structures. Wesker's bound-vaulting is wasted on pallets that can be dropped before he gets close. Use a different killer if offered these. |
If you want to see the meta build in action, watch the THE BEST WESKER BUILD FOR 2026 video for a full gameplay breakdown. The creator covers the same Unicorn Medallion + Leather Gloves add-on pairing and the same BBQ + Pain Resonance + Corrupt + Eruption perk shell.
Frequently asked questions
Is Wesker still S-tier in patch 10.0.0?
Yes. Albert Wesker remains one of the four S-tier killers in patch 10.0.0 alongside The Nurse, The Spirit, and The Oni. Patch 10.0.0 did not touch his base kit. He is strong because his power translates directly into downs and his base 4.6 m/s is faster than most killers' 4.4 m/s, giving him map pressure most chase killers don't have.
Is the Iridescent Uroboros Vial worth using?
It depends on your MMR. At bronze and silver, where survivors make mistakes with First Aid Sprays, the Vial's start-of-trial infection + Exposed combo can be devastating. At gold and above, survivors will quickly find sprays and the Vial's value drops. The Of Zen and Computing tier list rates the Vial as B-tier. For solo queue, run the Unicorn Medallion + Leather Gloves combo instead. Reserve the Vial for 4-stacks of teammates who can capitalize on the Exposed window.
Is Wesker better than Spirit in patch 10.0.0?
It depends on your playstyle. Albert Wesker is the better choice for players who prefer predictable power usage: you see your bound, you aim your bound, you commit. The Spirit is the better choice for players who prefer mind-game-heavy chase: phasing through walls, audio cues, and prediction. Both are S-tier. Spirit has a higher skill ceiling, Wesker has a higher skill floor.
Why Pain Resonance instead of Pop Goes the Weasel?
Pain Resonance triggers on hook (passive, free). Pop requires a kick (active, costs you a chase). Wesker wants to spend his time in chases, not kicking gens. Pain Resonance gives you the same gen pressure without sacrificing chase time. Pop is the right choice on slower killers like Trapper or Wraith who have more time to kick. On Wesker, Pain Resonance is mathematically better.
Should I run Superior Anatomy over Eruption?
Only if you are below rank 15 or you play on indoor maps (Midwich, Hawkins, The Game) where the next-vault speed boost matters more than gen pressure. At red ranks, the gen pressure from Eruption is more valuable than the chase assistance from Superior Anatomy. Most pro Wesker players do not run Superior Anatomy on the meta build.
Our take
The BBQ + Pain Resonance + Corrupt + Eruption build with Unicorn Medallion + Leather Gloves add-ons is the highest-floor Wesker build in patch 10.0.0 (2026). It does not require add-on RNG, does not depend on a specific map, and does not need a high-skill player to land - it works because the regression shell covers Wesker's weakness (gen control) and his base 4.6 m/s covers the rest. If you are new to Wesker, run this build. If you have 200+ hours on Wesker, you can experiment with the Lab Photo + Video Conference Device variant for higher-skill expression, but expect your 4K rate to drop by 10-15% as you learn the pallet-timing.
The Mastermind rewards players who can land bounds under pressure and read loops quickly. He is one of four S-tier killers in the current meta. The other three are The Nurse, The Spirit, and The Oni. If you are choosing between them, see our Patch 10.0.0 killer tier list for the full ranking.